Batch Actions
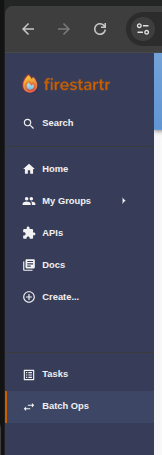
Batch actions let you apply the same set of changes to a group of resources in one go. Use Batch Executor from the sidebar.
Step 1 — Open Batch Executor
Open Batch Executor in the sidebar.
Step 2 — Choose the type of action
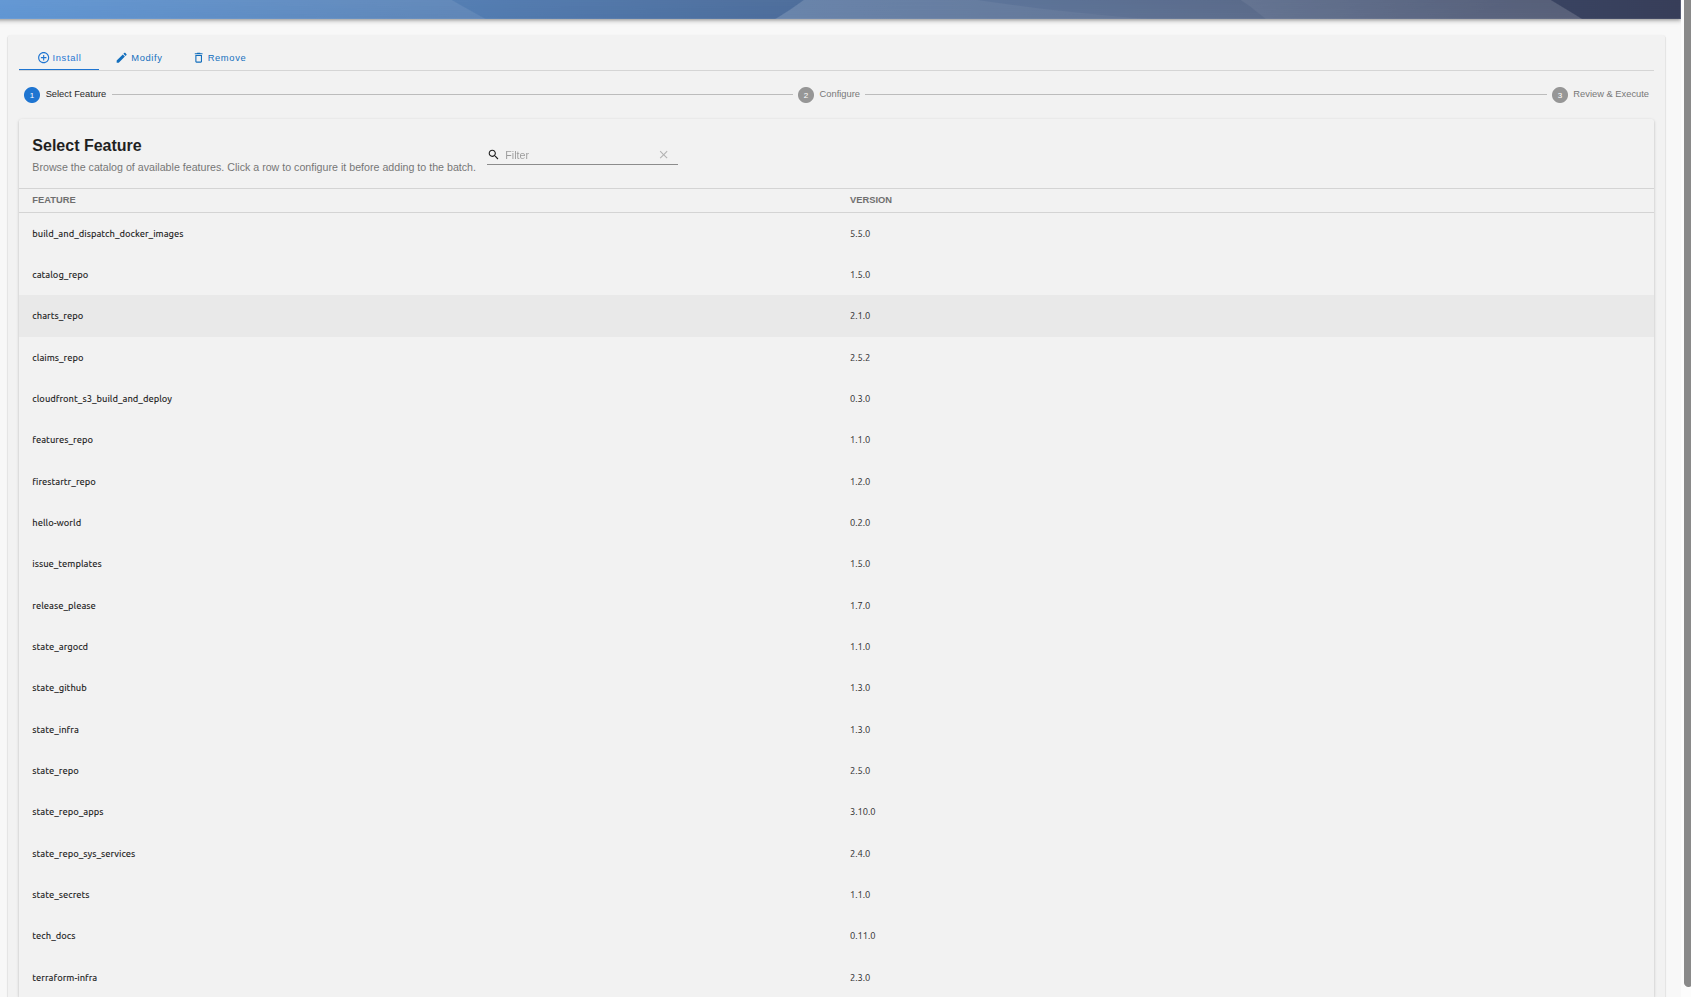
Batch Executor offers three action types: Install, Modify, and Remove. By default the Install tab is displayed, where you can select a feature to install on a group of resources.
Step 3 — Configure the feature
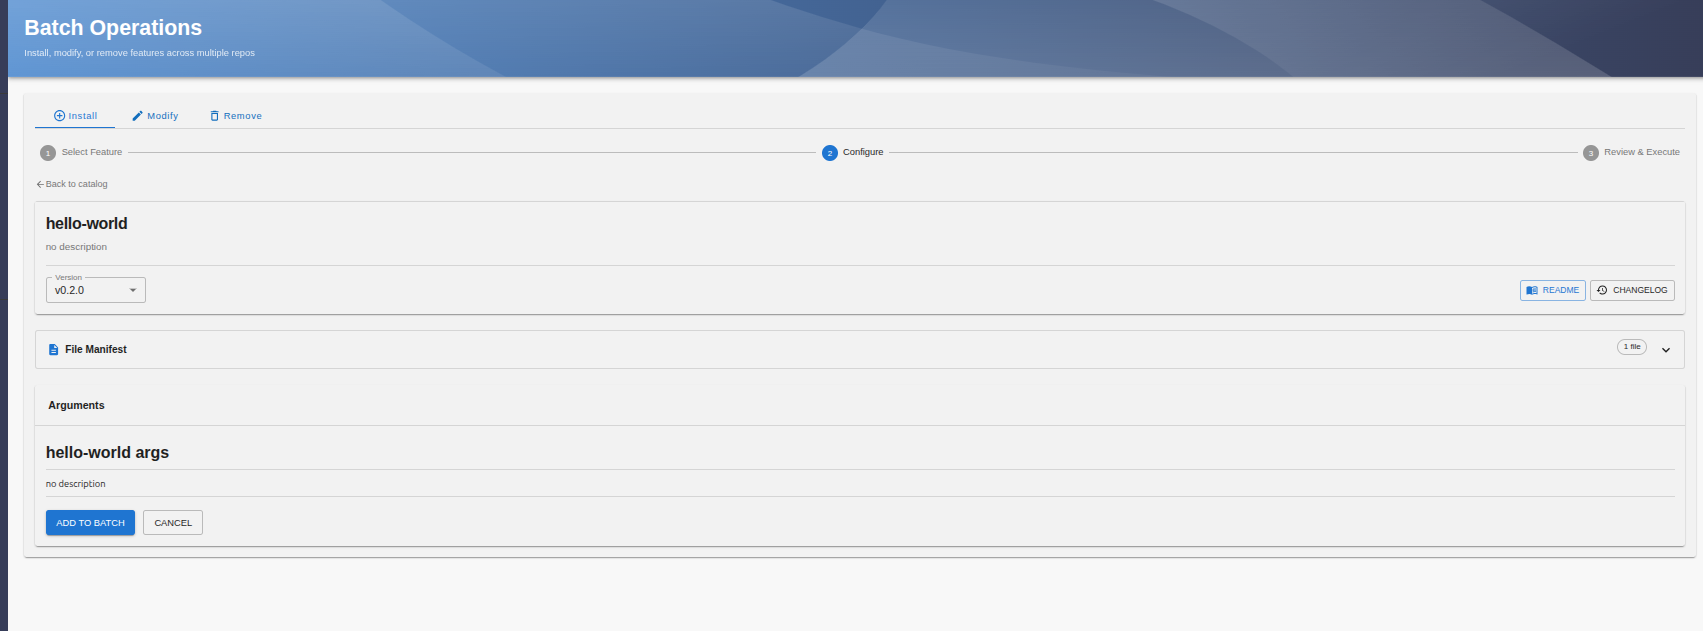
Once a feature is selected, the configuration surface is displayed, where you can set the version and the arguments of the feature.
Step 4 — Add to the batch
When you are done, click ADD TO BATCH to include the feature in the batch operation.

Step 5 — Review the patches
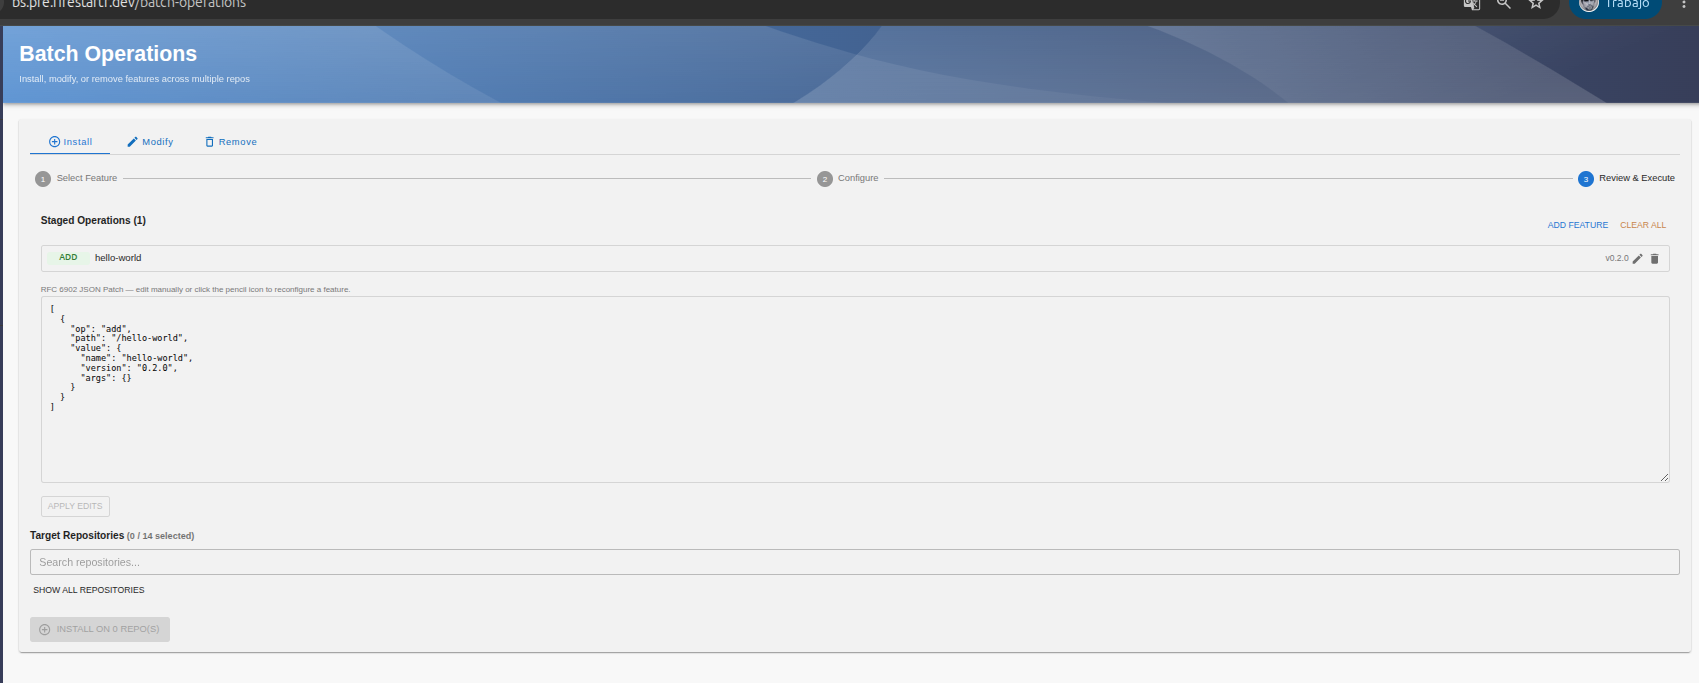
Once you add the changes to the batch, the system translates them into JSON patches, which you can also edit by hand if needed.
Step 6 — Select the target repositories
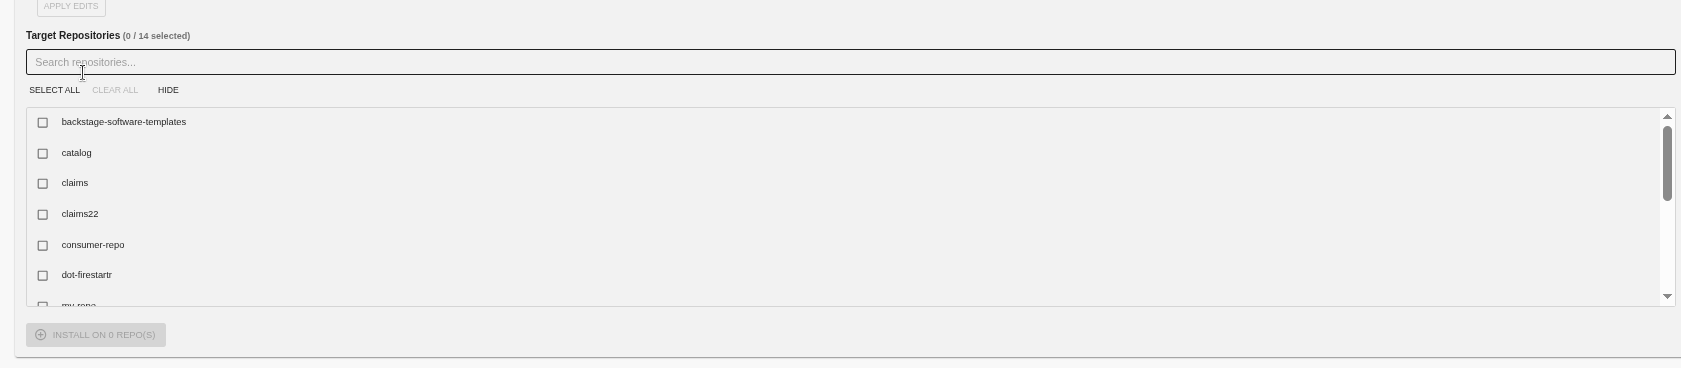
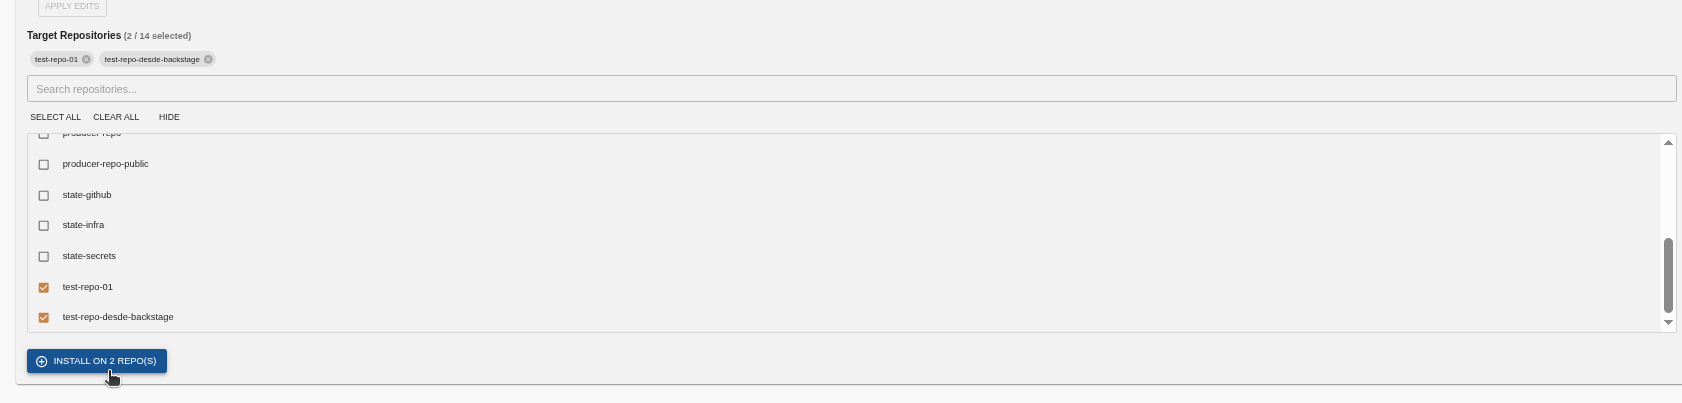
Select the repositories to which you want to apply the batch changes.
Step 7 — Execute the batch
Once the repositories are selected, press the execute button. Its label follows the action type and the number of targets, for example Install on 2 repo(s), Modify on 2 repo(s), or Remove on 2 repo(s).
Step 8 — Follow the progress
You can monitor the progress of the batch tasks in the quick visor on the Batch Executor page itself.

You can also go to the Tasks tab to follow their progress from there, together with all your other runs.
