Features Control
The features subsystem has its own control forms and surfaces. The catalog menu bar includes a Features tab on service and website components only. Components of other types, and all other entity kinds, do not have this tab.
Step 1 — Open the Features tab
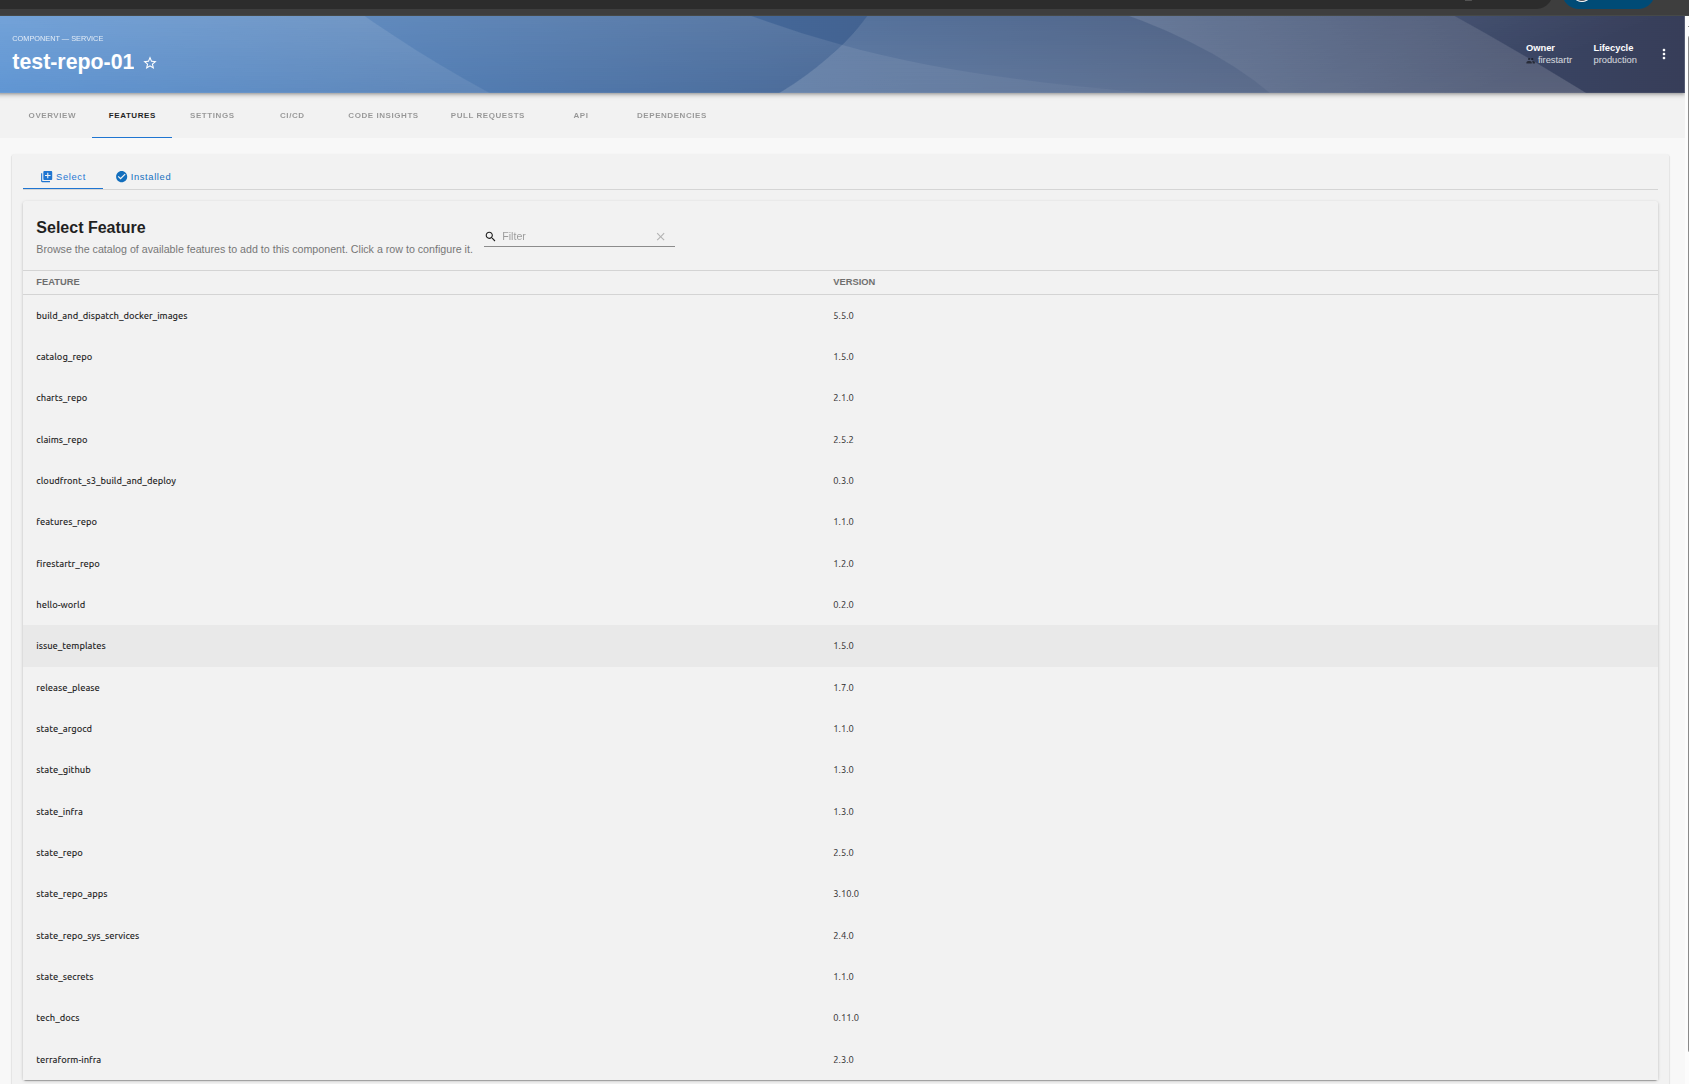
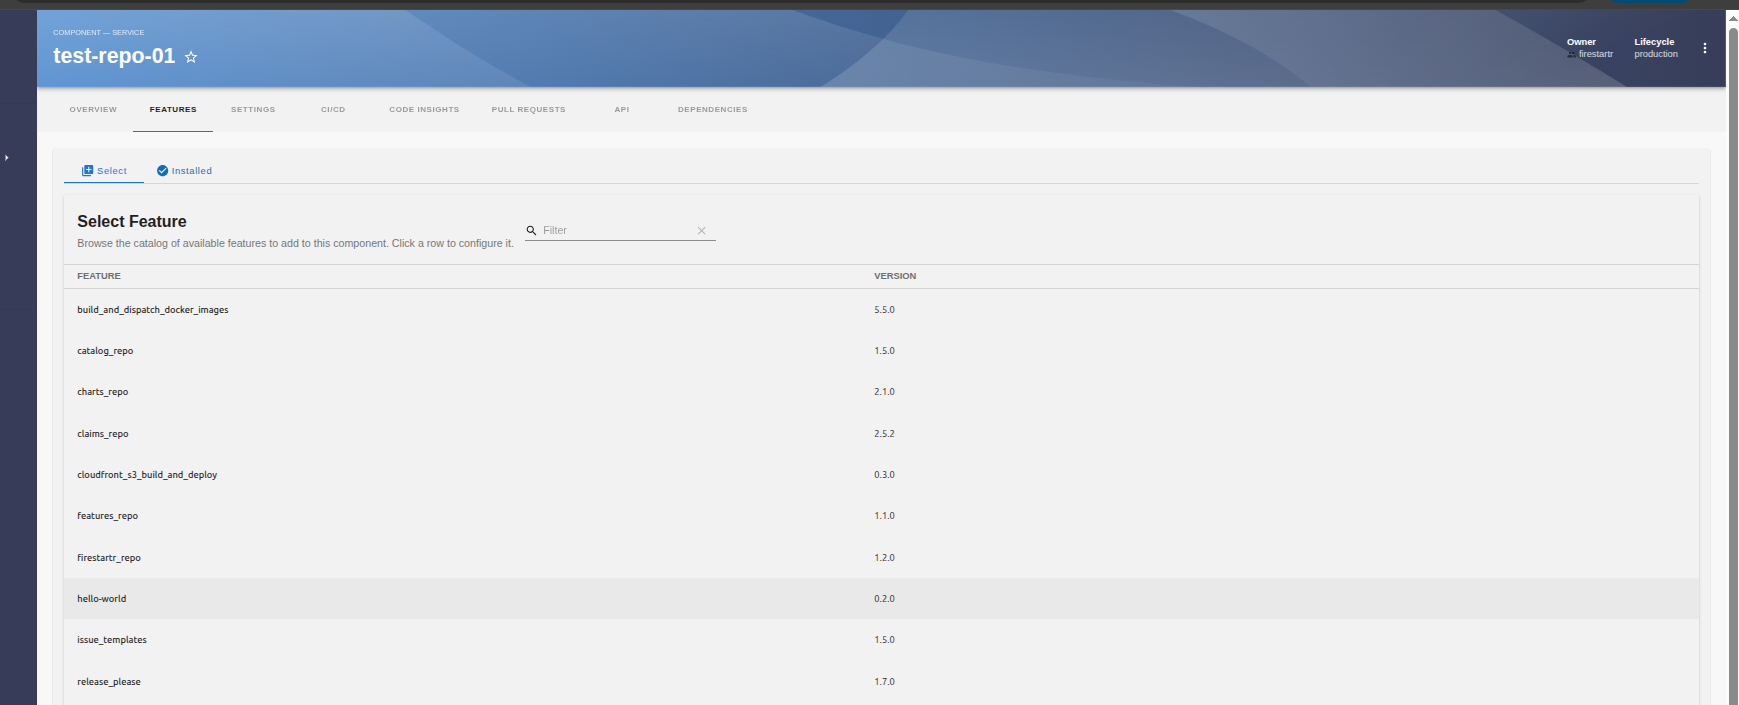
Open your component in the catalog and click Features in the menu bar. The wizard shows two views: Select, with the catalog of available features, and Installed, with the features already installed on the component.
Step 2 — Select the feature to install
To install a feature, just select it from the list by clicking its row.
Step 3 — Review and configure the feature
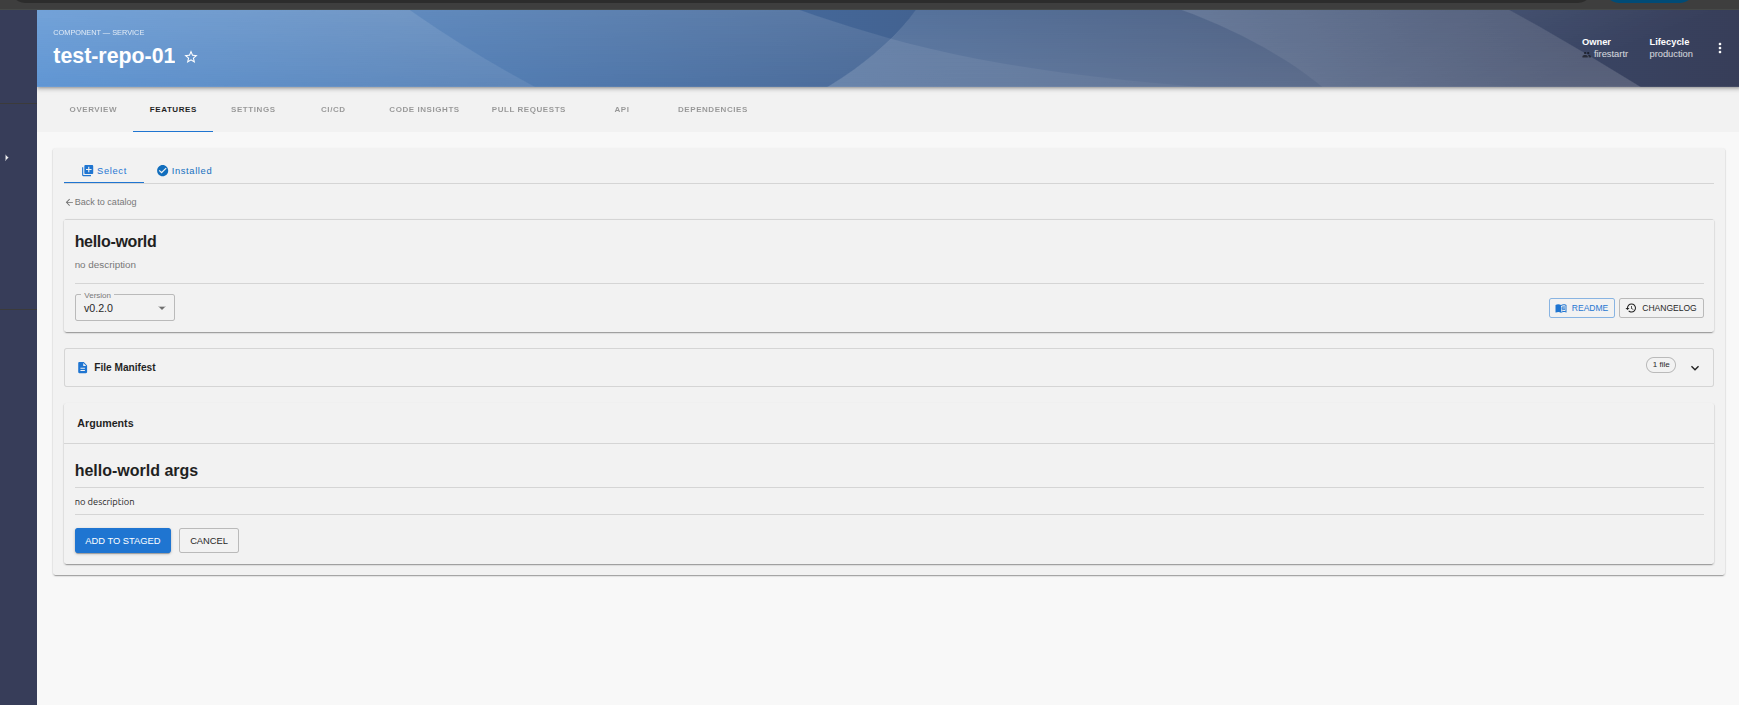
The wizard then informs you about the feature: its description, the files that install it (File Manifest), its readme and its changelog. You can also select a particular version — by default the latest — and fill in the arguments of the feature.
Previewing file content
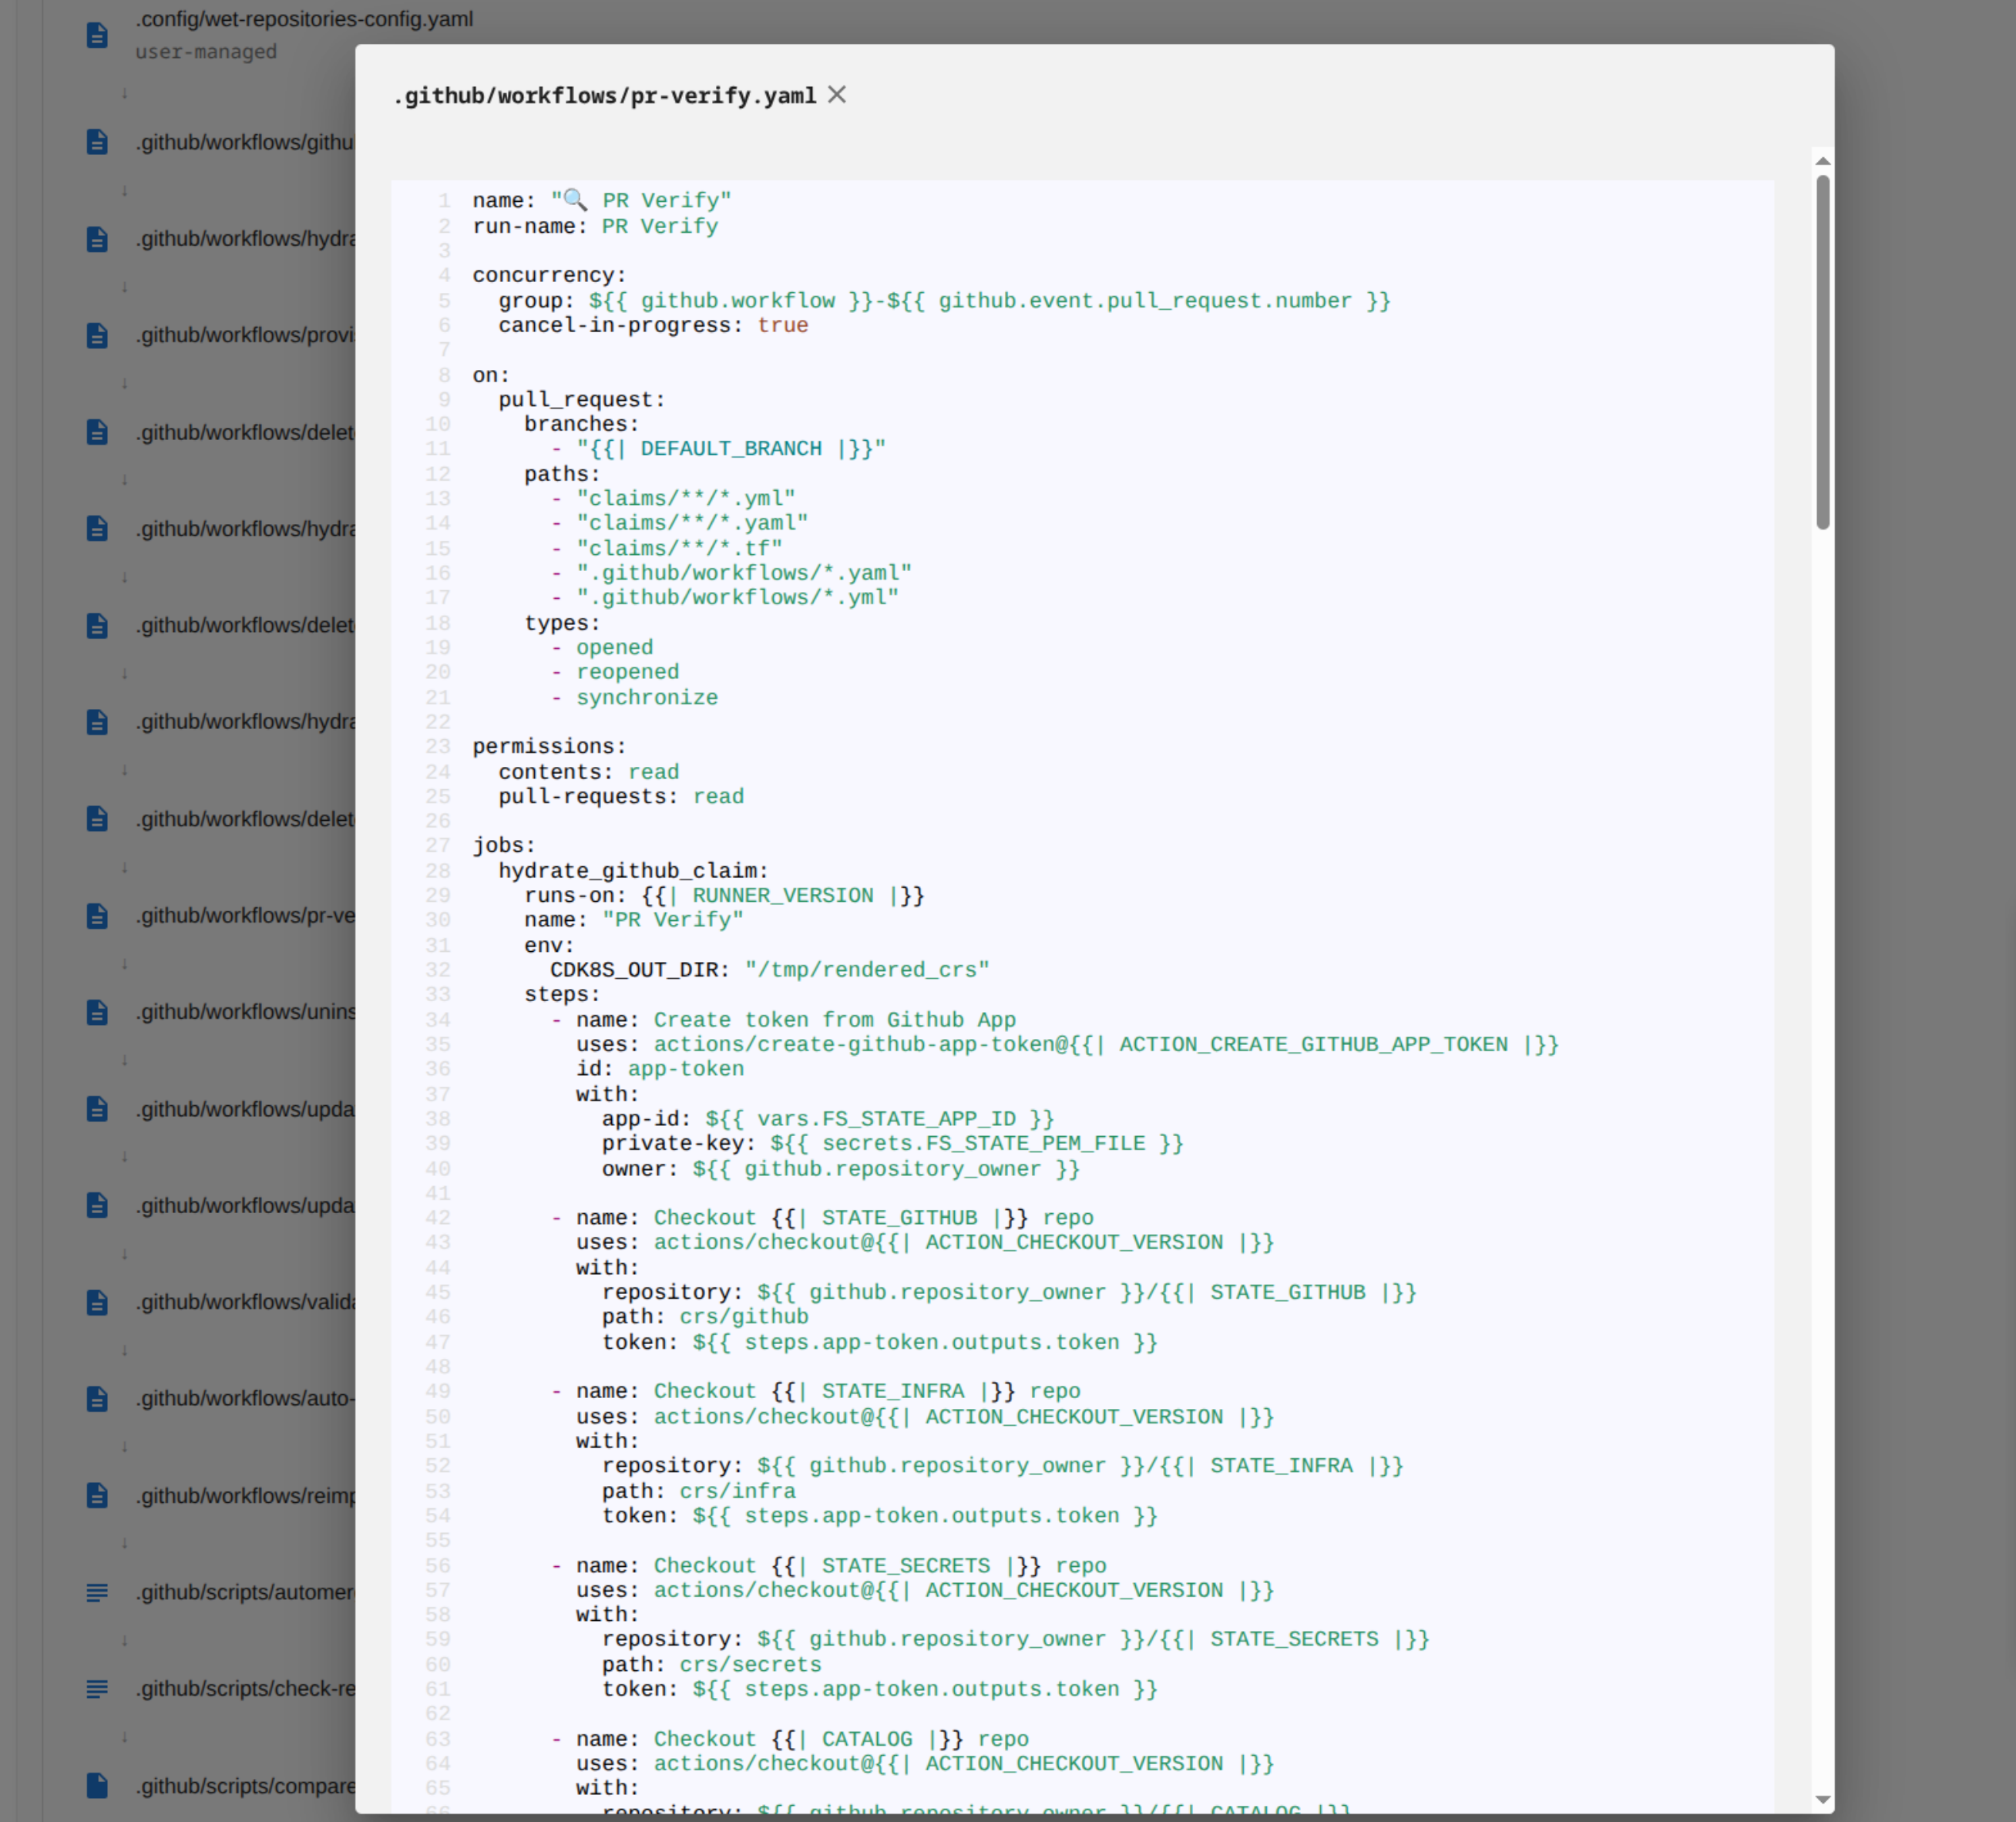
You can preview the content of any file in the File Manifest by clicking on its file name. This opens a dialog showing the file content with syntax highlighting, making it easy to review what the feature will install without leaving the configuration screen.
The dialog includes:
- Syntax highlighting for YAML, Bash, JavaScript, and Markdown files
- “Open in GitHub” link to view the file directly in the feature’s repository
- Error handling if the file cannot be fetched
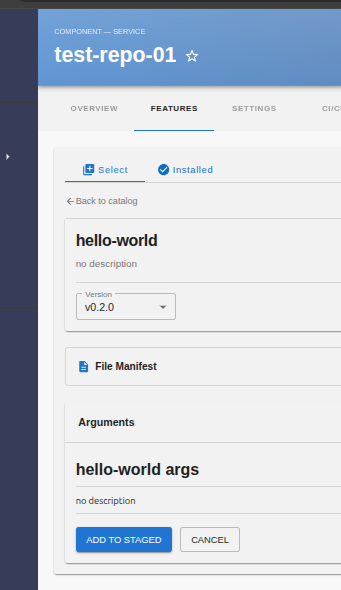
Step 4 — Stage the changes
Once you are done, click ADD TO STAGED to stage the installation of the feature.
Step 5 — Review the staged changes
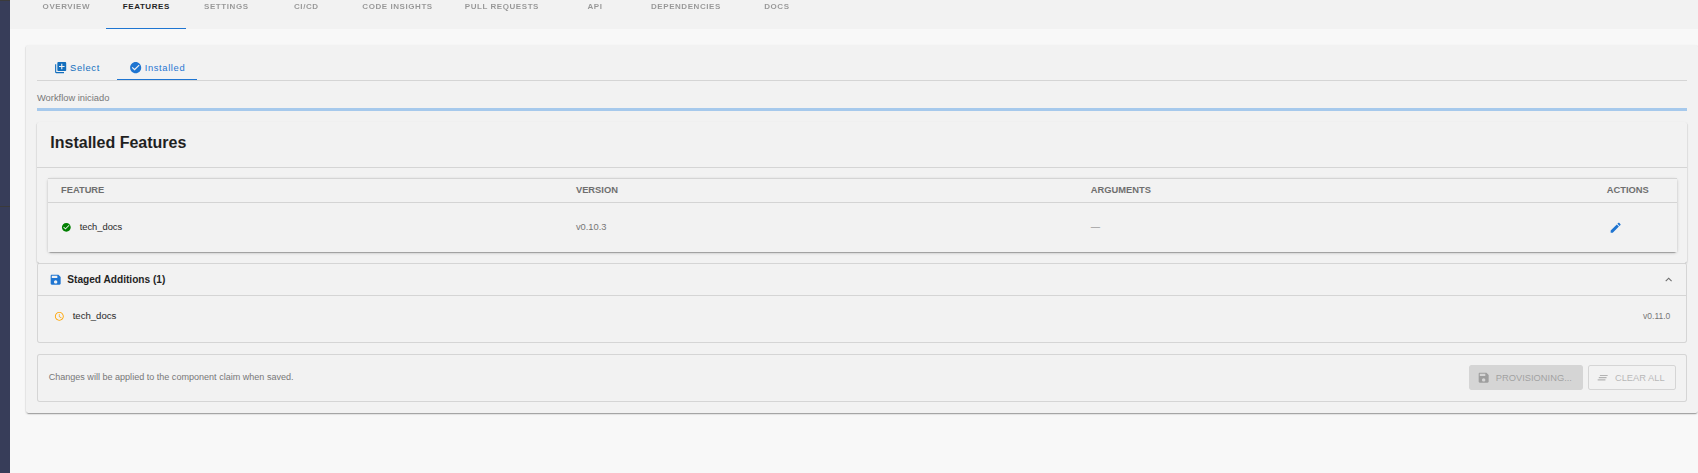
You can stage more features and see them all in the staged surface, under the Installed view. From there you can also clear the staged changes if you prefer.
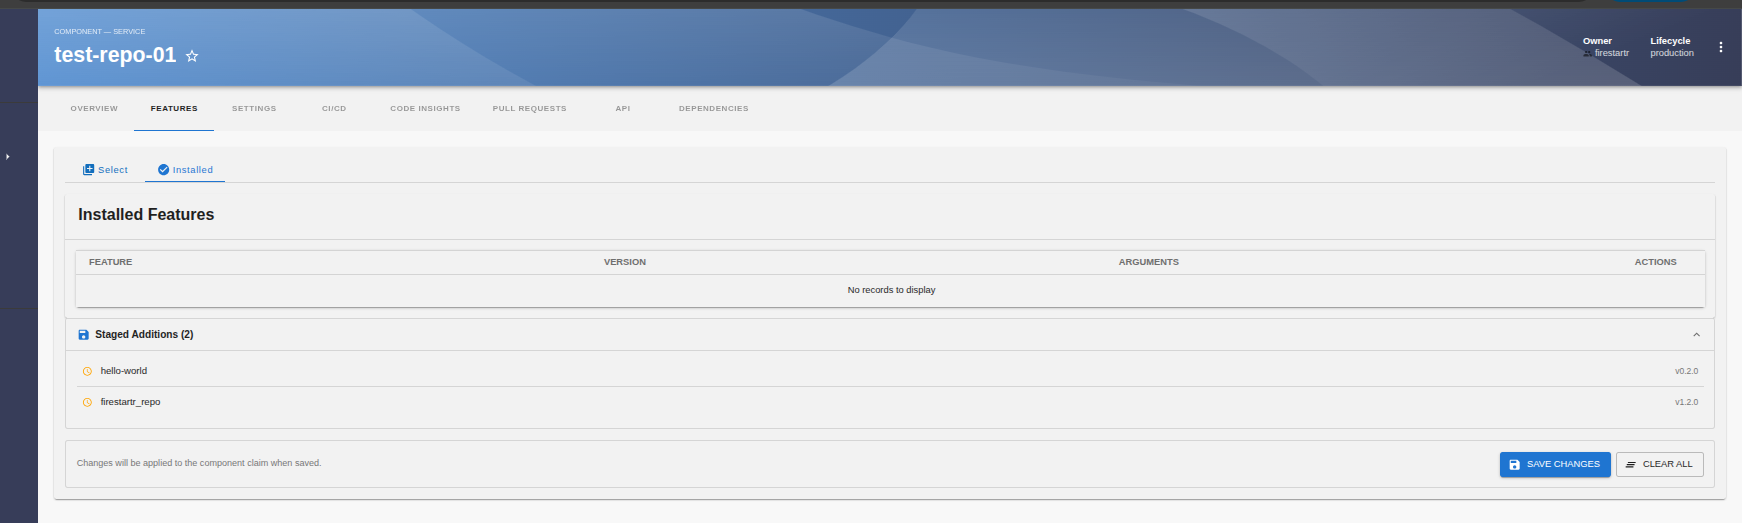
Step 6 — Commit the changes
Once it is done, press SAVE CHANGES to commit your changes: the staged features are applied to the component claim and undertaken by the portal.

Step 7 — Modify an installed feature
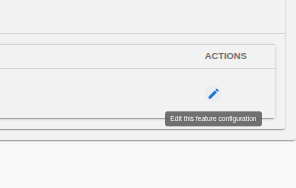
To modify an installed feature, go to the Installed surface. Each installed feature offers an edit action for its configuration.

Press the edit button of the feature to open its configuration form, where you can modify it and commit the change as described above.
The configuration form opens with the current values. Press UPDATE STAGED to stage the modification, then SAVE CHANGES to provision them.