Resource Edition
Once your resource is created, you can manage it from the catalog screen. The surfaces you see depend on the entity kind; do not expect a User or Group to look like a Component.
Step 1 — Open the catalog
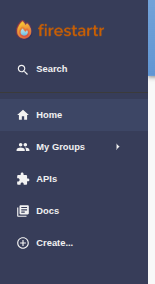
Open Home in the sidebar to see the catalog with all the resources of the organization.
The catalog is Backstage’s Software Catalog.
Step 2 — Find your resource
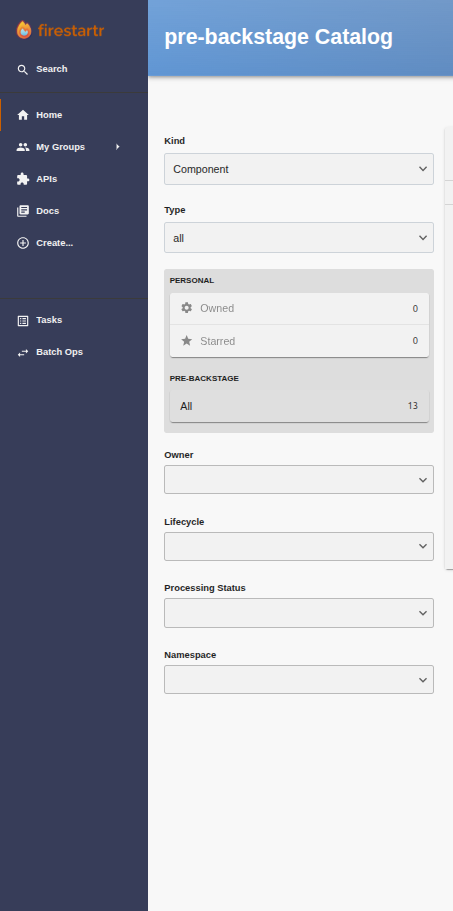
You can filter the catalog by kind and by name to quickly find the resource you want to manage.
Step 3 — Open the resource
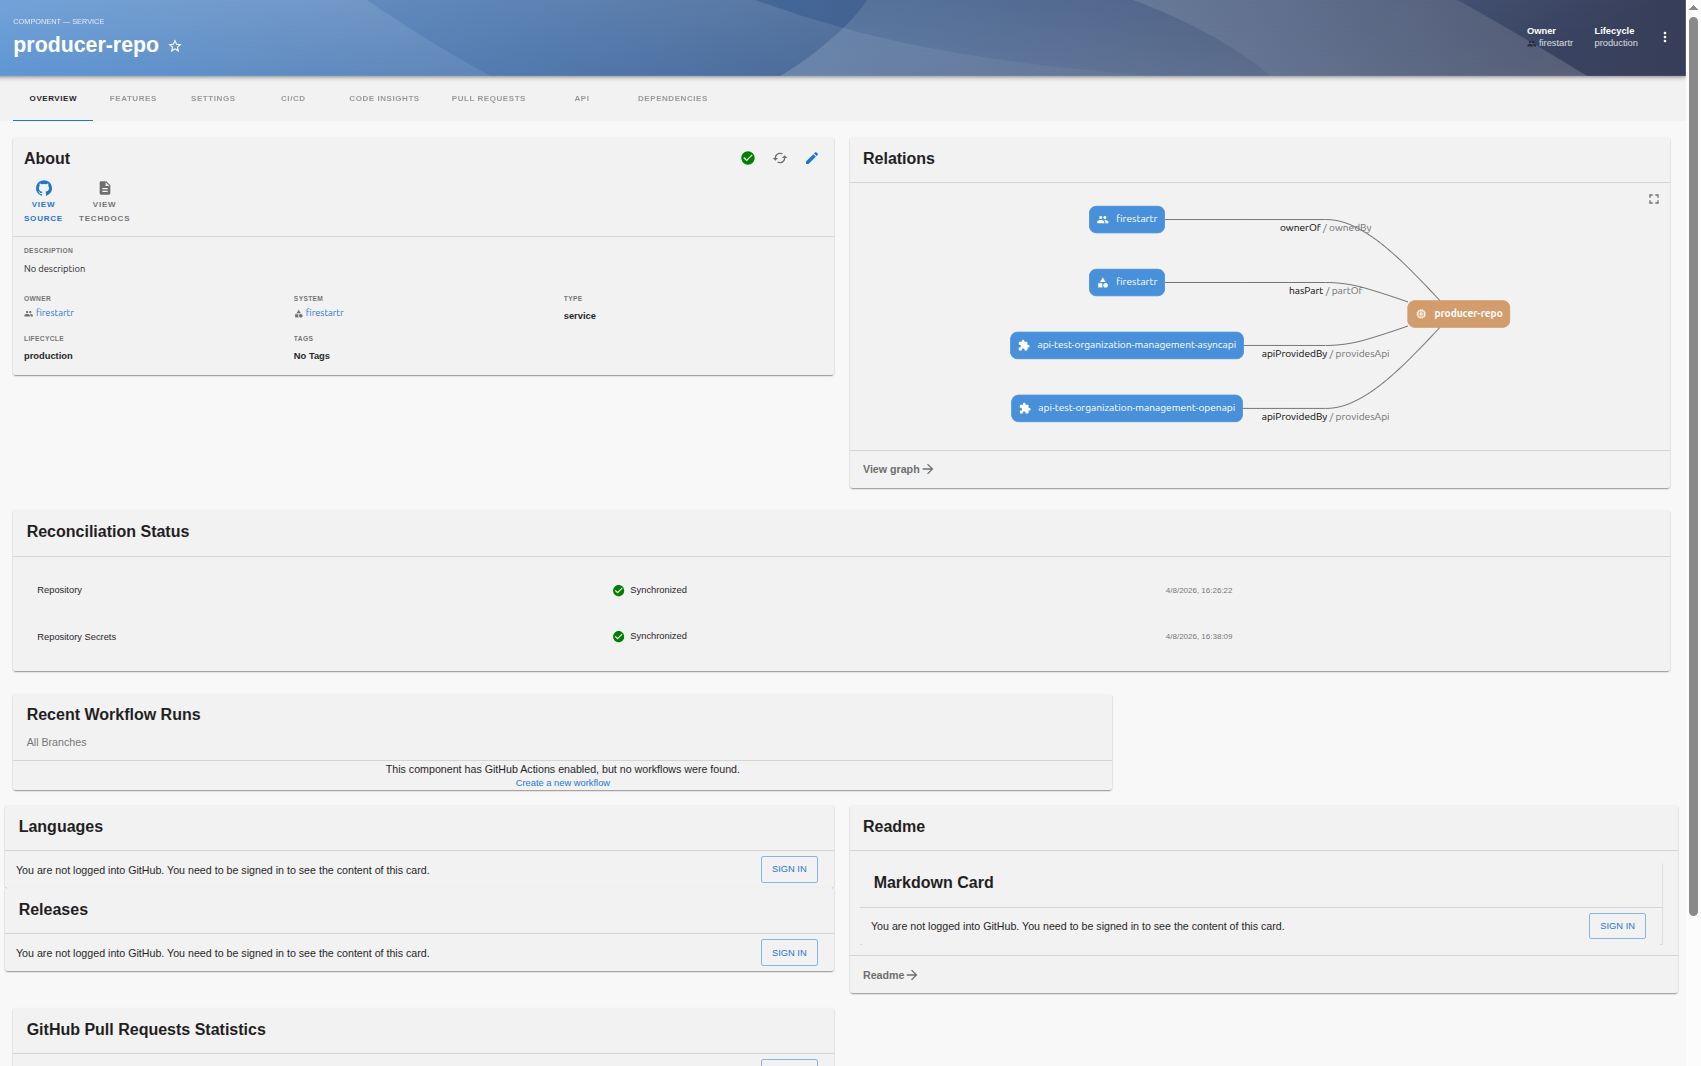
Once you open a resource, a contextual menu bar is displayed. Which items appear depends on the kind:
- Component (service): Overview, Features, Settings, CI/CD, Code Insights, Pull Requests, Dependencies, and, only when the component consumes or provides APIs, API. Kubernetes appears only when Kubernetes is set up for the component, and Docs only when it has TechDocs documentation.
- Component (website): Overview, Features, Settings, CI/CD, and Dependencies (no Code Insights, Pull Requests, or API), with the same conditional Kubernetes and Docs tabs as service components.
- Component (other types): Overview and Settings, plus Docs when TechDocs documentation exists — no Features tab.
- User and Group: Overview and Settings.
- System: Overview, Settings, and Diagram.
- Domain: Overview and Settings.
The Features tab exists only on service and website components. Do not look for it on components of other types, nor on a User, Group, System, or Domain.
Step 4 — Manage the resource in Settings
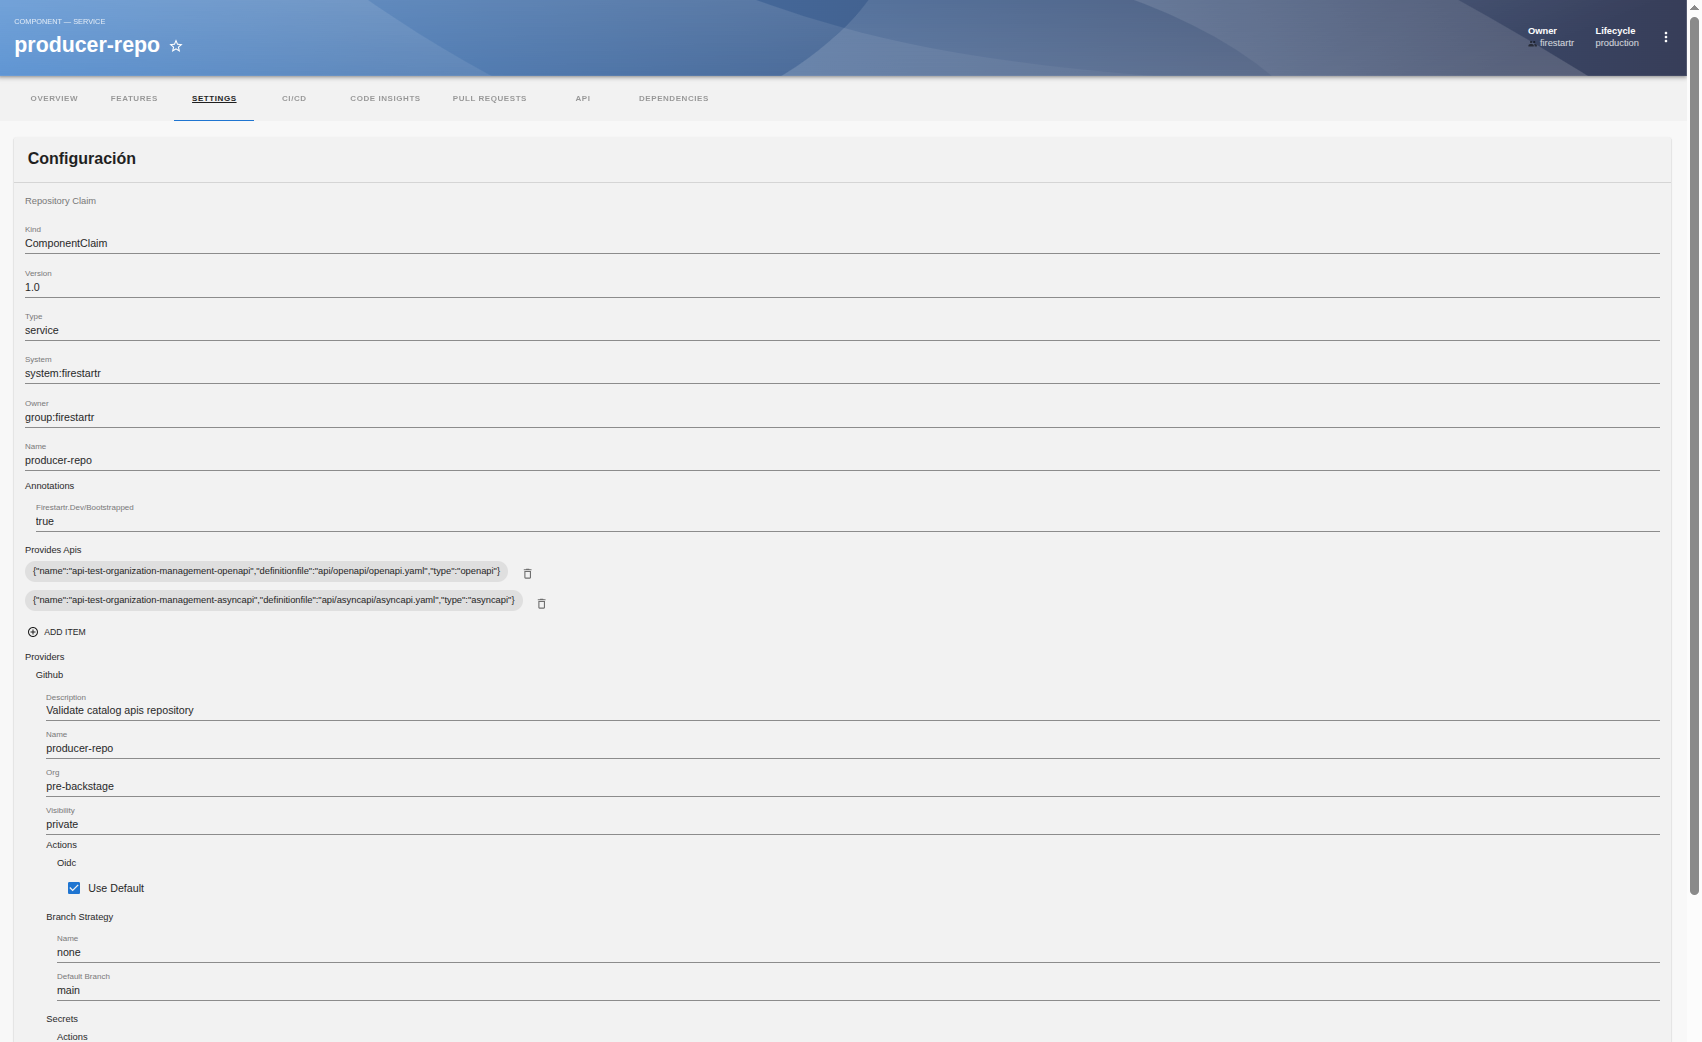
To manage your resource, go to Settings in the menu bar. An edition form is displayed with the current configuration of the resource, ready for you to modify.
Step 5 — Save your changes
Modify what you need and press the save button. Just clicking the button launches the provision task that updates your resource, which you can follow from the Tasks tab, as described in Resources Provisioning, or with a quick look at the top of the Settings surface, where the progress is shown live.

