Resources Provisioning
The portal lets you provision new resources from ready-made blueprints, called templates. Templates are Backstage Software Templates. Instead of setting everything up by hand, you pick the resource you want, answer a few guided questions, review the result, and the portal takes care of the rest.
Which path you are on depends on the template you choose. Know this before you press CREATE:
- Component, User, and Group follow the automated provisioning flow. After you create, the portal commits the claim, runs provisioning, and waits until the resource is ready. Follow progress on the creation screen or from Tasks.
- System and Domain follow the pull-request flow. After you create, the portal opens a claim pull request. There is no automated Custom Resource convergence for these kinds; finish the request in GitHub.
- Terraform Workspace (Create Infrastructure Resource) is automated, but it is not a Component or System wizard. Its steps are Module Source, Variables, Configuration, and Metadata, then the same automated provision-and-wait path as Component, User, and Group.
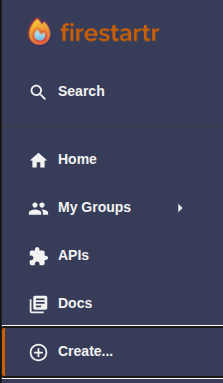
Step 1 — Open the Create menu
In the sidebar on the left, click Create….
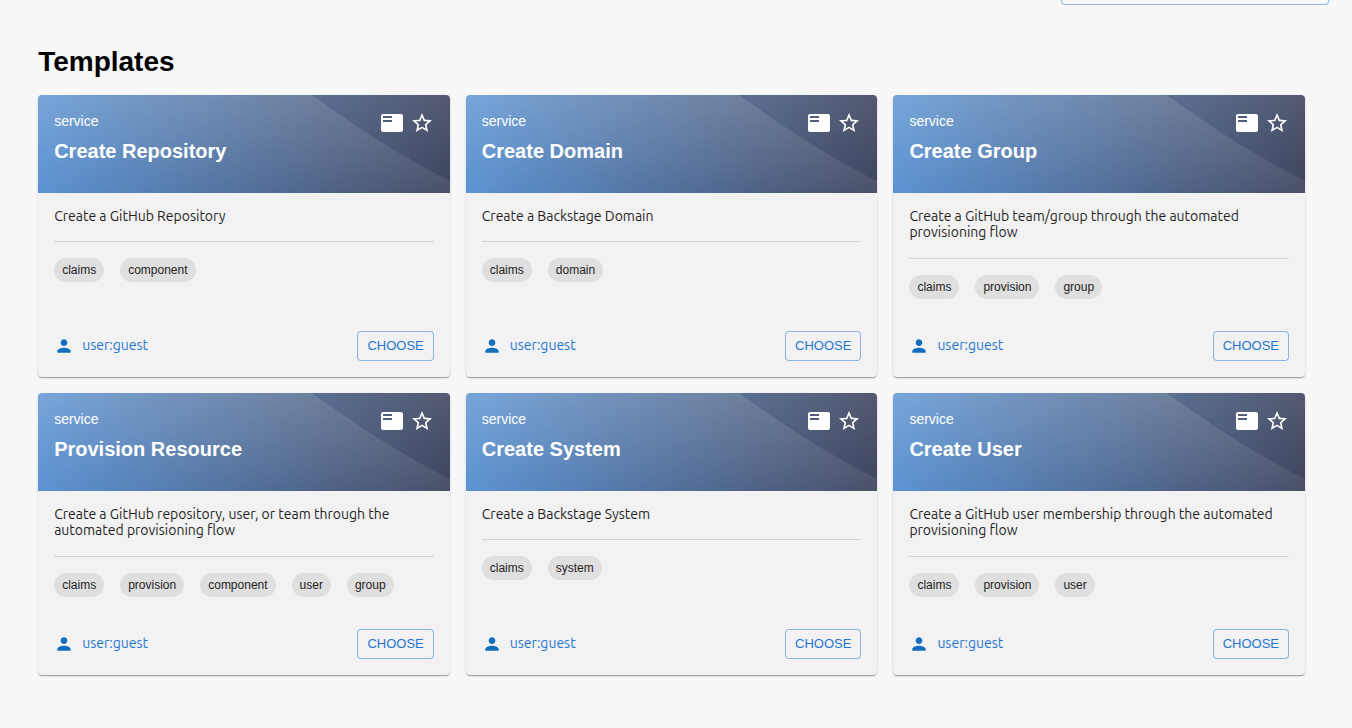
Step 2 — Choose the resource to provision
The Templates page shows the resources you can provision, such as repositories, domains, groups, systems, users, or a Terraform workspace. Each card describes what the template creates. Click CHOOSE on the one that fits your needs.
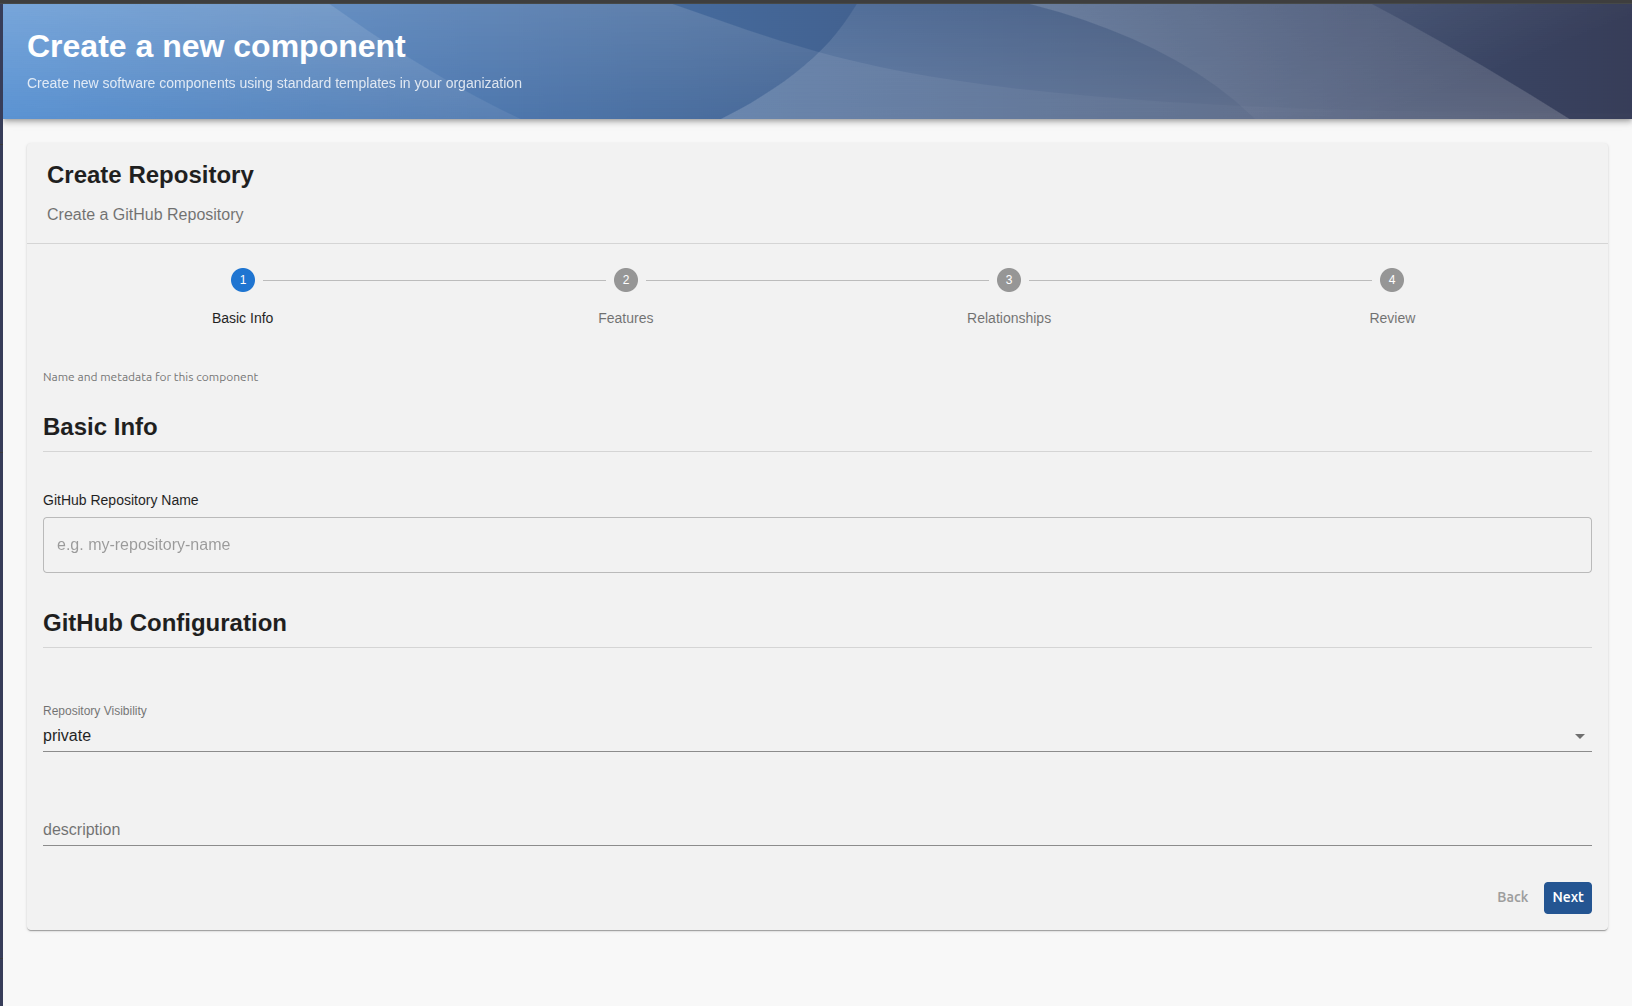
Step 3 — Configure the new resource
Once a resource is selected, the wizard walks you through the steps needed to configure it. Component templates use steps such as Basic Info, Features and Relationships. A Terraform Workspace uses Module Source, Variables, Configuration and Metadata instead. Fill in the requested fields and press Next until you reach the review.
Step 4 — Review before creating
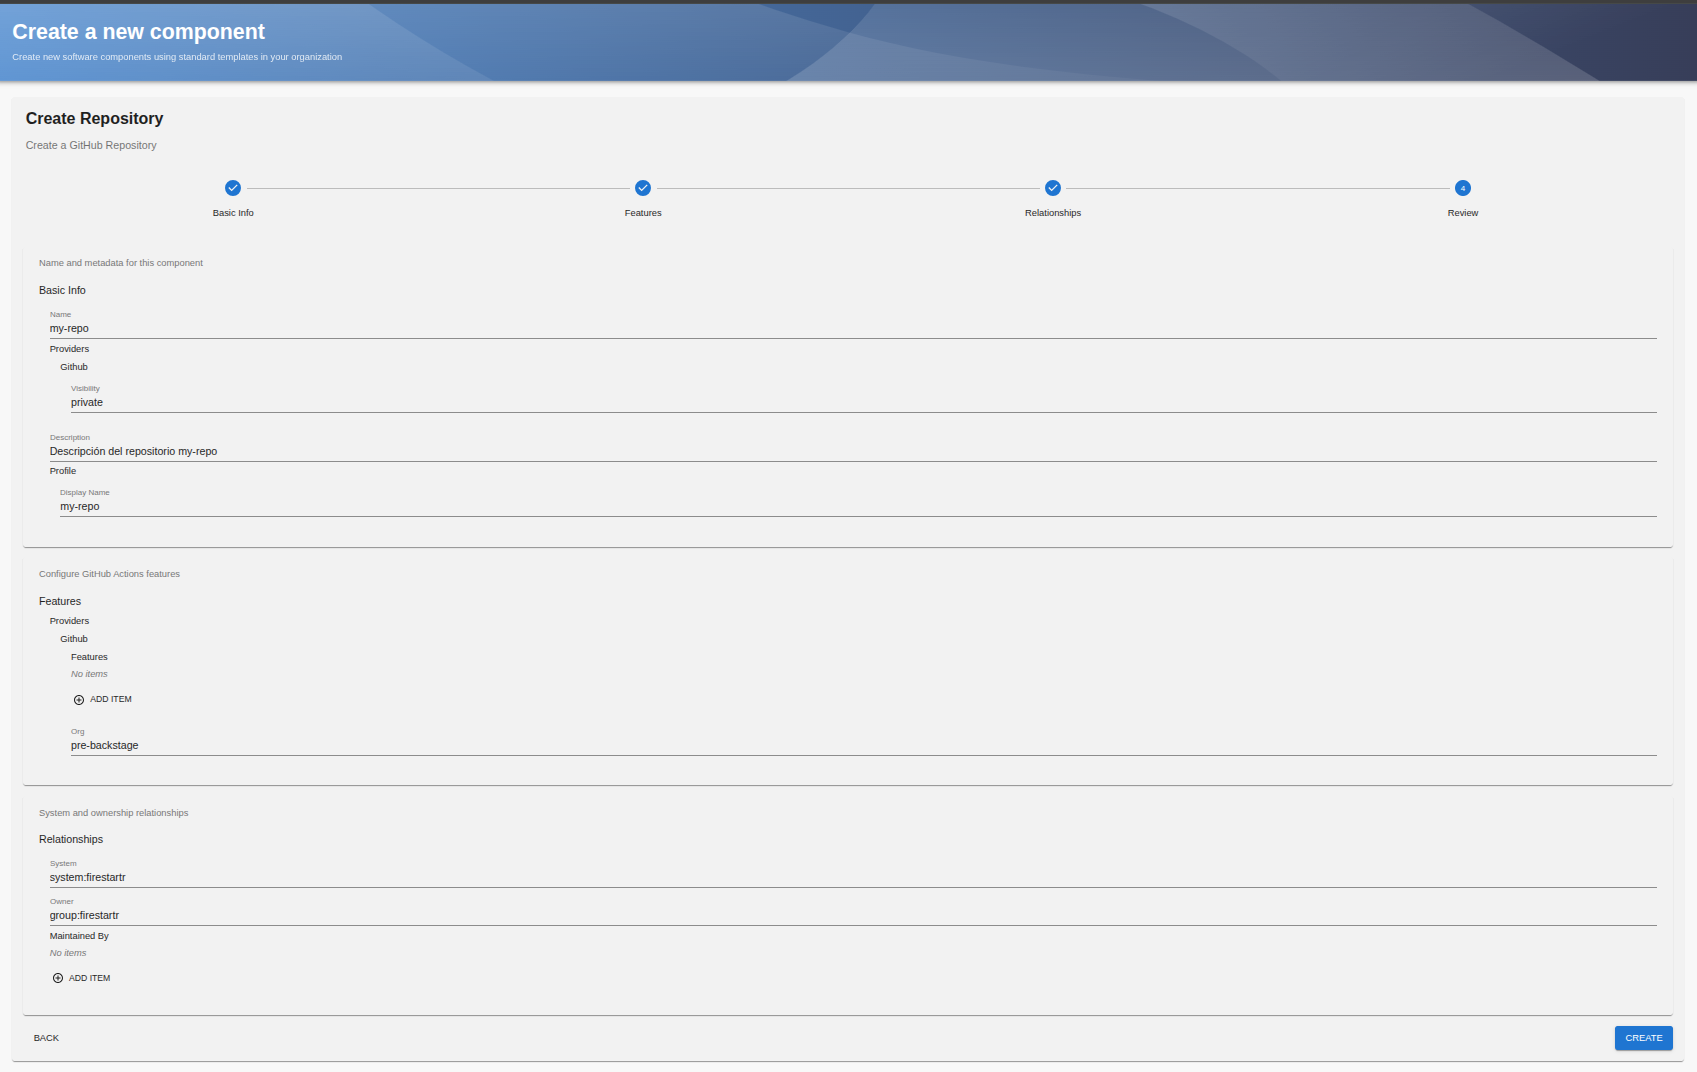
The review screen shows a summary of everything that is going to be created. Take a moment to check the values.
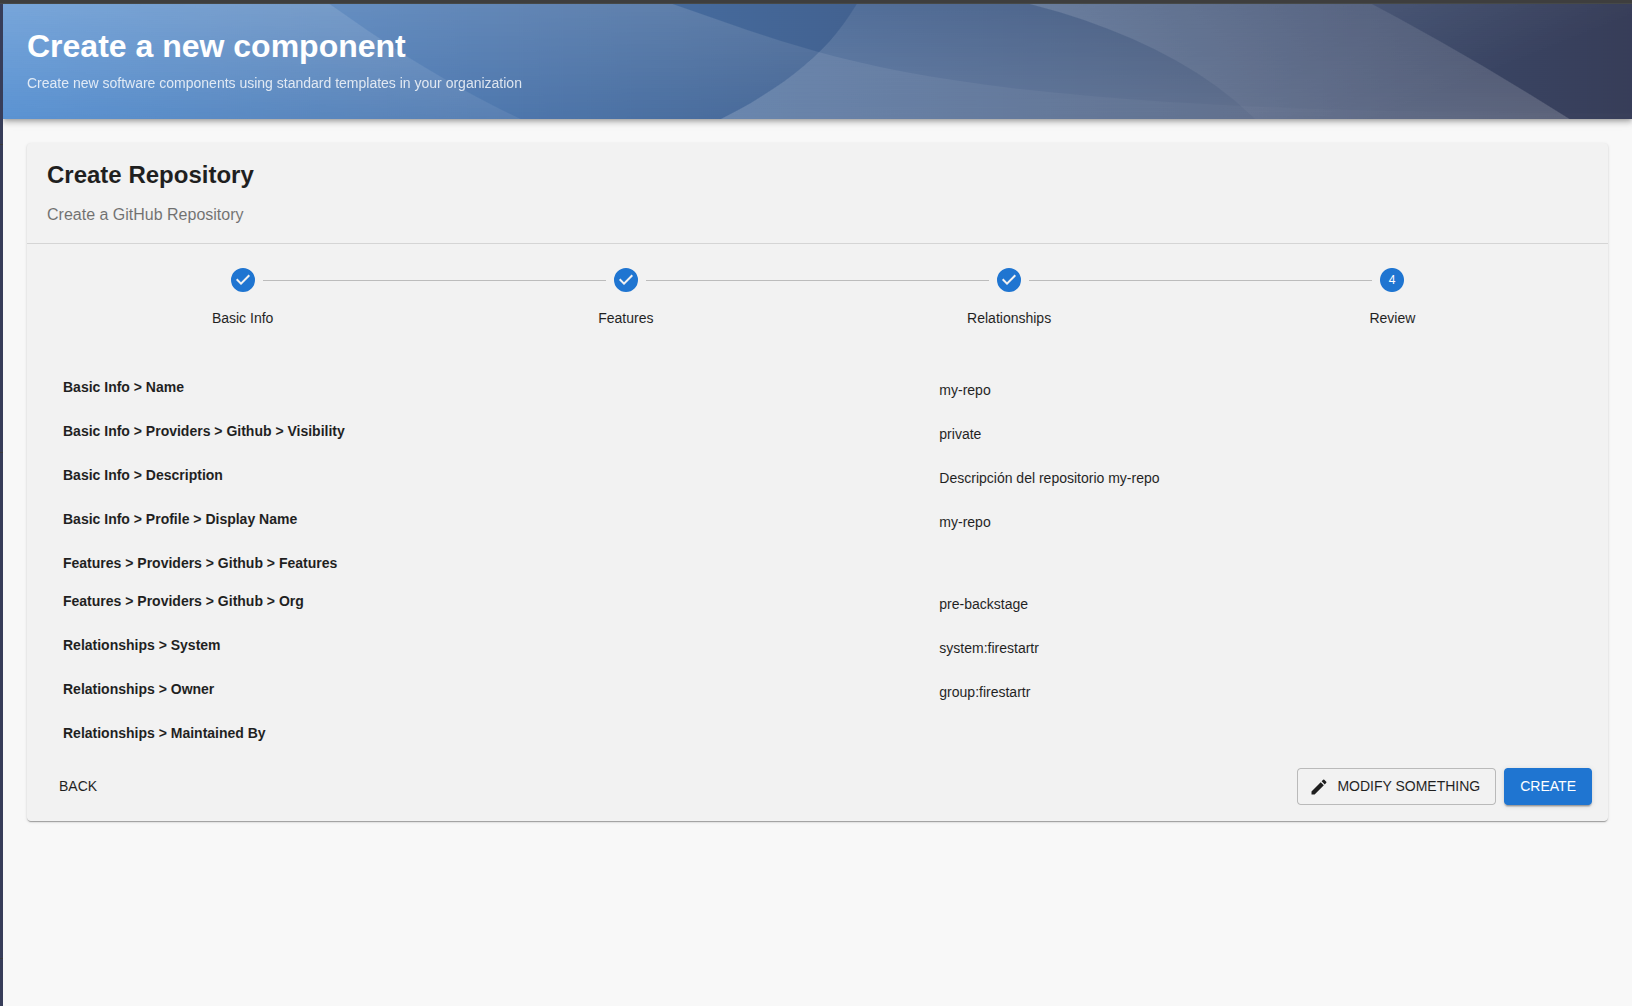
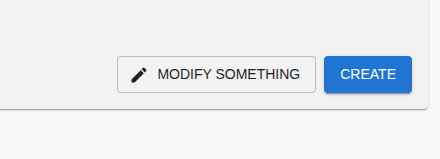
If something is wrong or you want to change it, press MODIFY SOMETHING.
Step 5 — Modify what you need
The edit form displays every value you entered, ready to be changed. Adjust whatever you need and press CREATE when you are done.
Step 6 — Follow the creation process
After you press CREATE, what happens next depends on the kind:
- For Component, User, Group, and Terraform Workspace, the creation screen shows the provisioning progress live, step by step, until the resource is ready.
- For System and Domain, the run finishes with a pull request for the claim rather than live Custom Resource convergence. Open that pull request to continue.
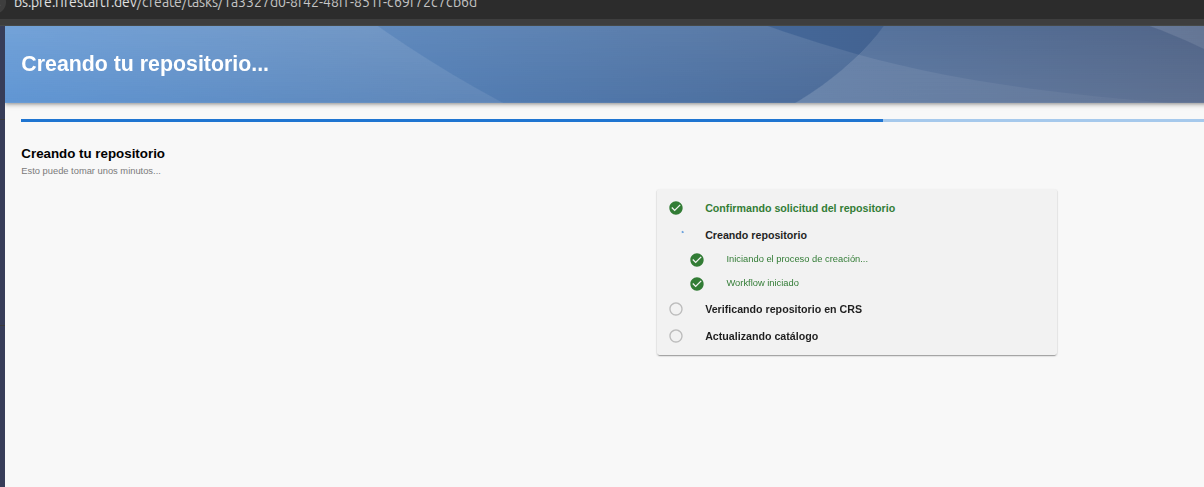
For the automated kinds (Component, User, Group, and Terraform Workspace), you can also follow the progress of your tasks at any time from the Tasks tab in the sidebar. System and Domain creations do not dispatch a provision task, so they do not appear there; track their pull request in GitHub instead.
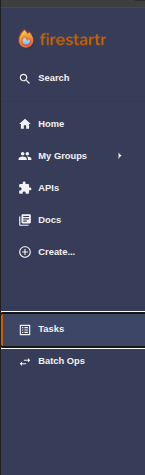
The Tasks page lists your recent provisioning runs with their current status, and refreshes automatically. From there you can filter the list and open the details of any run.
